

First, basic address information about your practice must be entered so that it appears properly on all external correspondence and reports, including invoices.
From the initial startup screen, click on Housekeeping, Contacts, and then Offices from the top-line drop down menu. The following screen will appear:
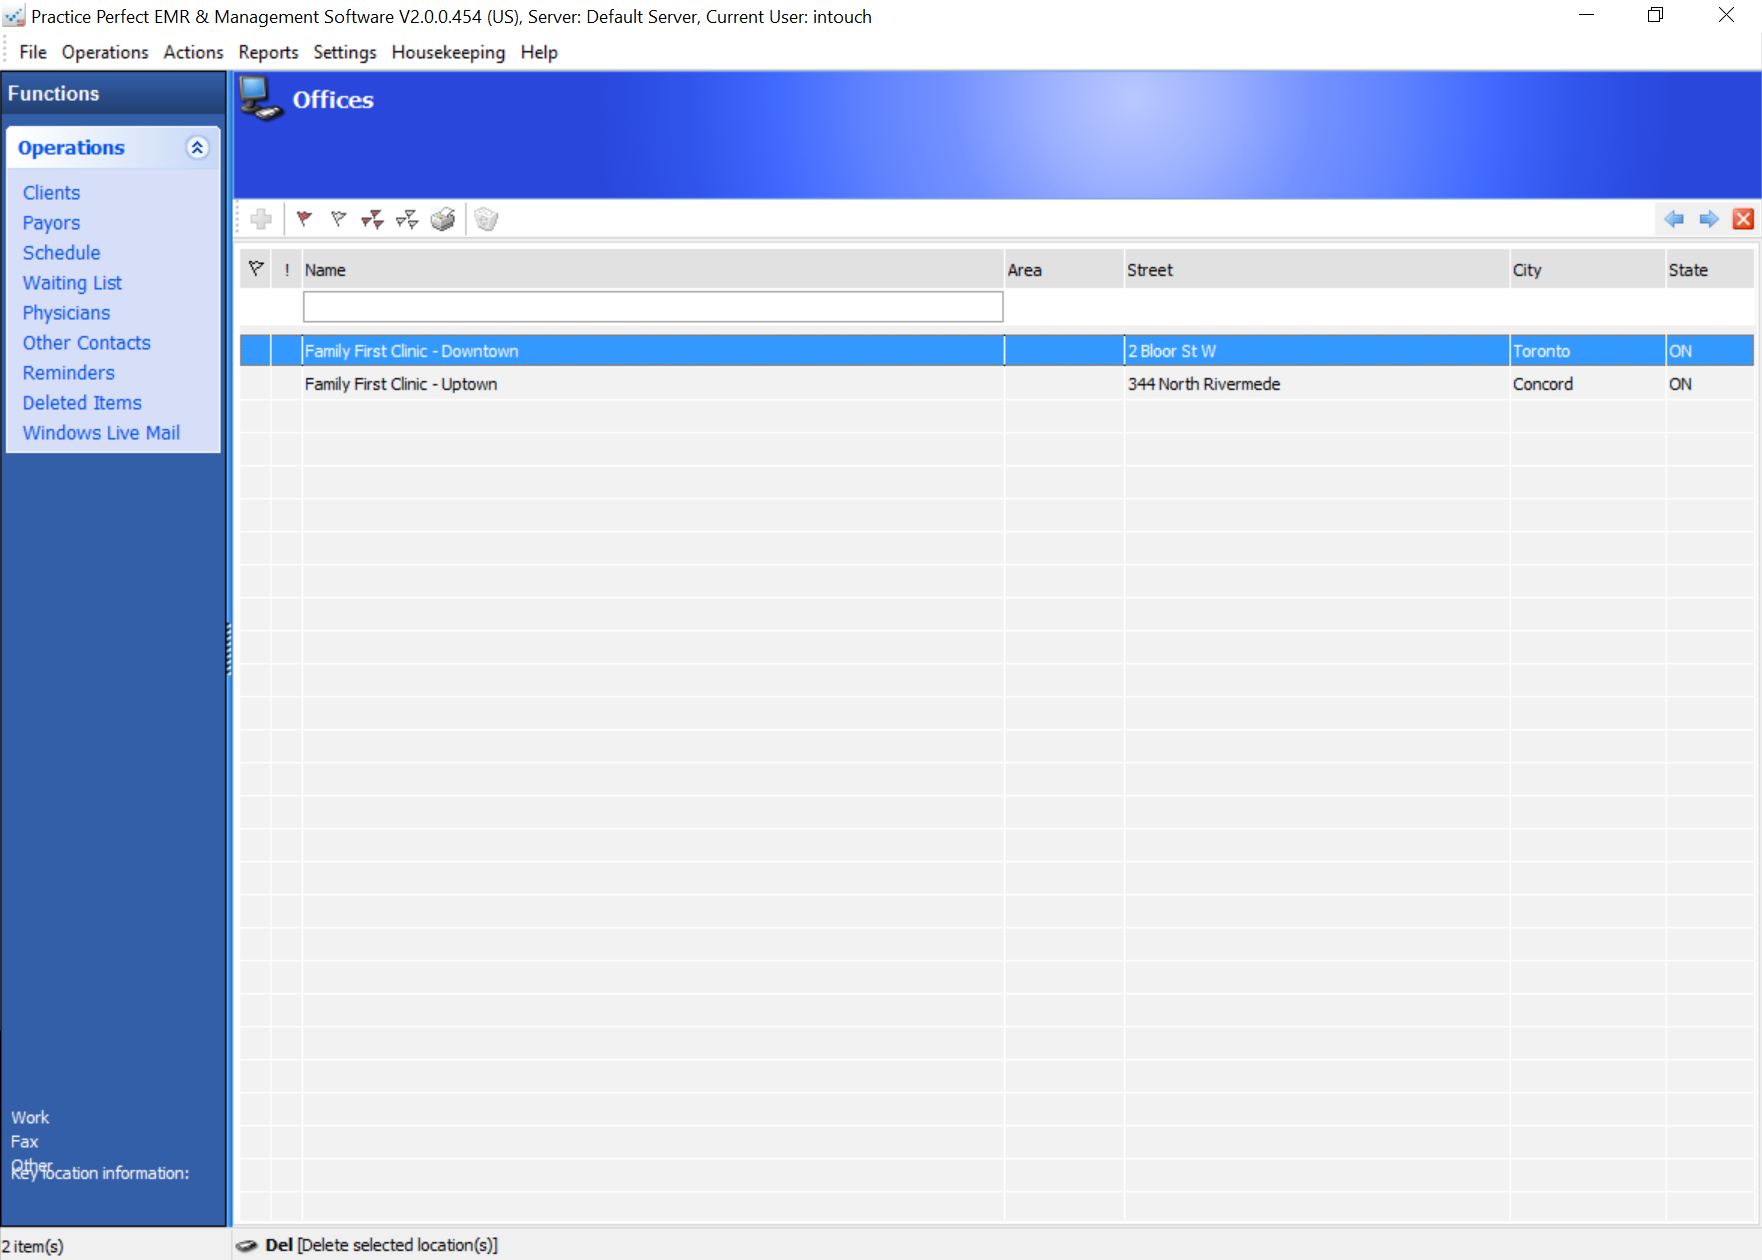
As you may notice, the central part of your screen has been replaced by the Offices listing information, which, once entered, will contain the information pertaining to your facilities. Also take note of the following series of icons near the top of this screen:

You will see this row of icons throughout Practice Perfect on virtually every list. This Quick bar will allow you to add, edit, remove and flag whatever piece of information you are working with. This bar also allows you to jump forward and backward between screens that you have previously visited. This will make more sense as you proceed. In this case, you want to add a new location, your location, to the system. To add new items, move your mouse over the New ![]() icon and click your mouse. The following screen will then appear:
icon and click your mouse. The following screen will then appear:
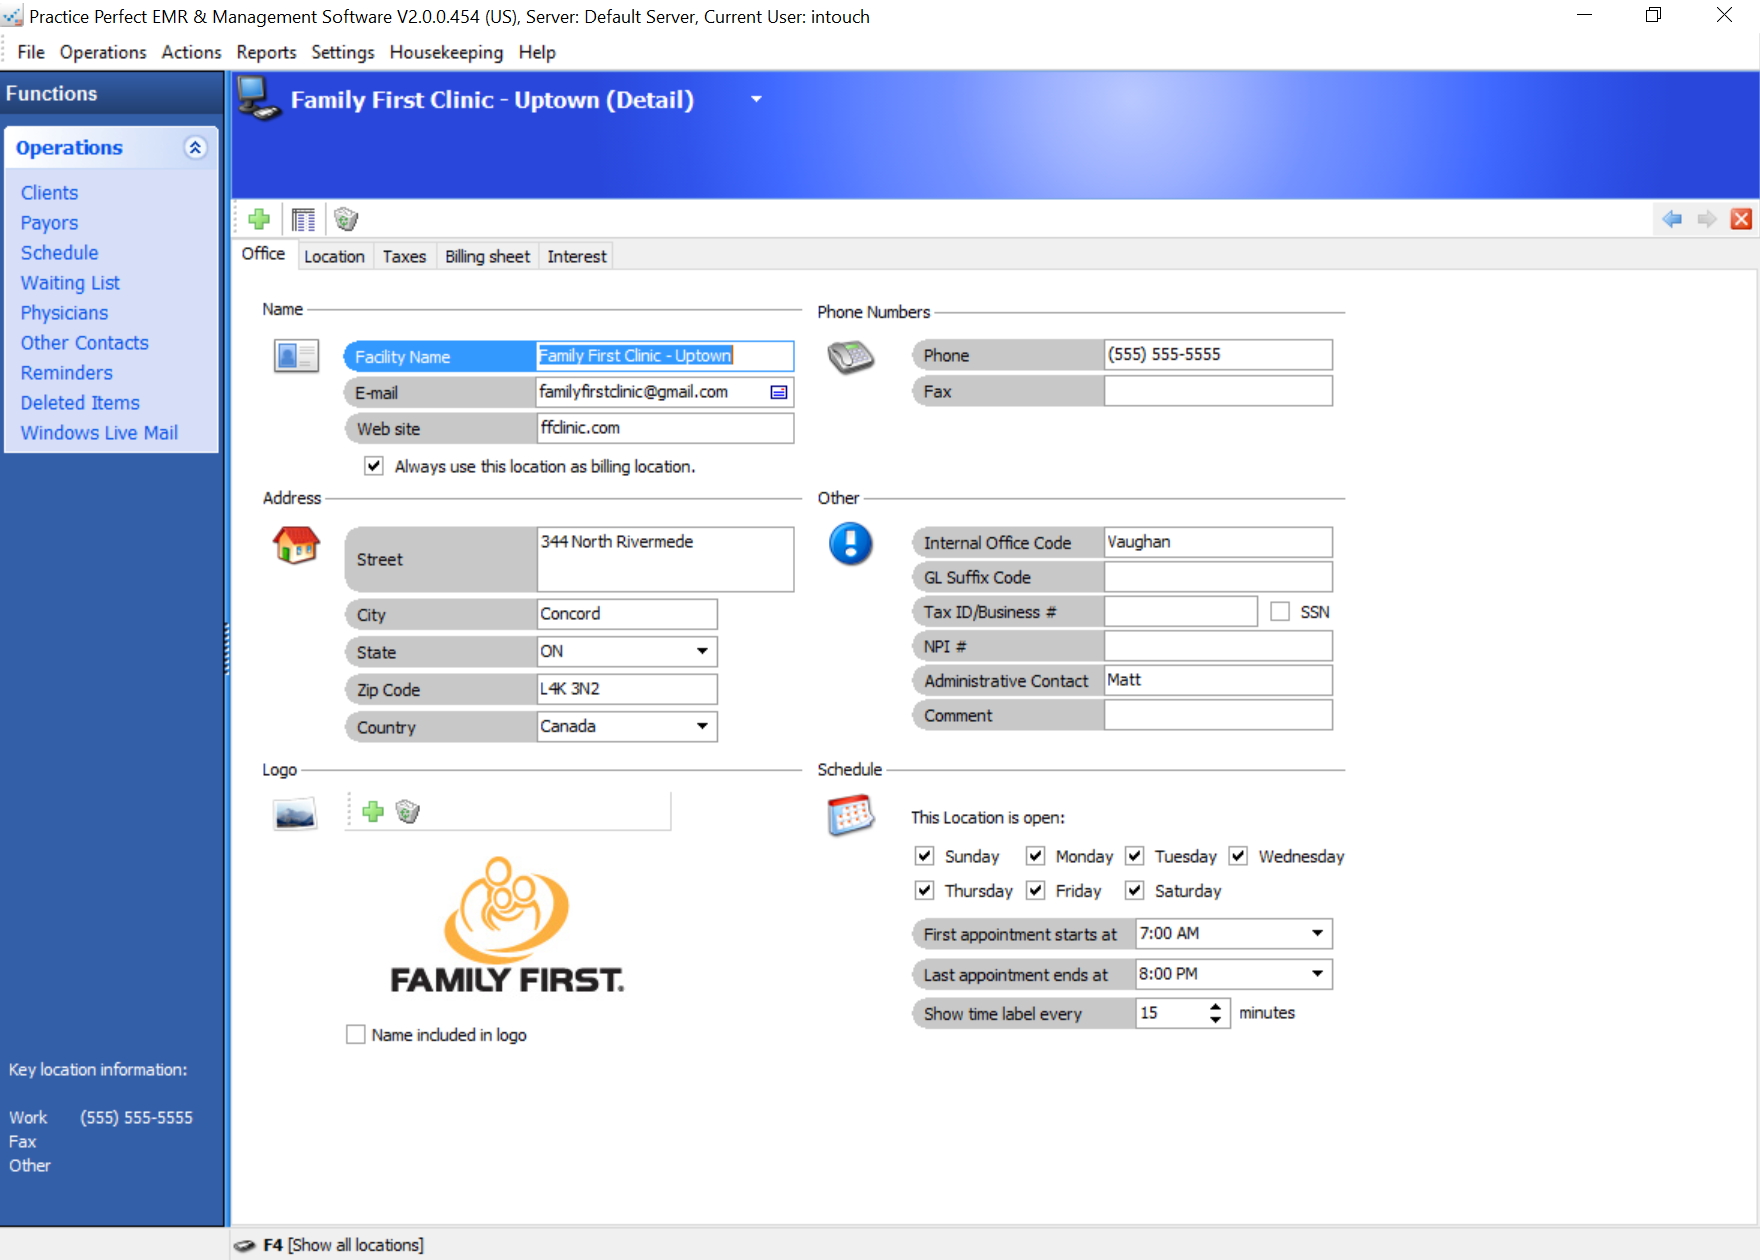
Once in the Logo section, click on the New ![]() icon and enter or browse for the filename and path, if any, that contains your facility’s logo. The logo must be stored in any standard Windows graphic format to work with Practice Perfect. This logo will appear on all of your invoices and printed reports. For more information on obtaining your logo in the correct format, please contact our support department.
icon and enter or browse for the filename and path, if any, that contains your facility’s logo. The logo must be stored in any standard Windows graphic format to work with Practice Perfect. This logo will appear on all of your invoices and printed reports. For more information on obtaining your logo in the correct format, please contact our support department.
If your name is included within your logo, select the Name included in logo option which will prevent the logo and your actual name from being printed on all documents.

