Moderator
12.14.2018

In our Tips and Tricks series, we provide clinic with novel ways for making the most of Practice Perfect.
In Version 487, we introduced a new feature which enabled you to know the exact time when looking at the ‘Scheduler’. We implemented this was by incorporating a red line in the ‘Scheduler’ that indicates the current time. To see what it looks like, check out the picture below.
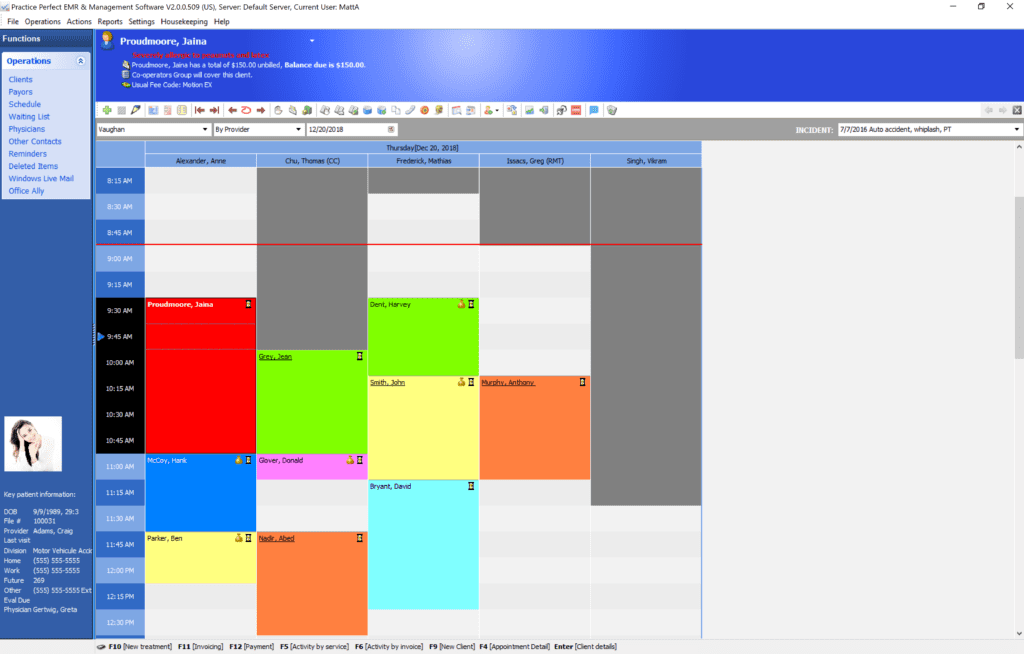
As the day progresses, the red line gradually works its way down the ‘Scheduler’, allowing you to keep tabs on the current time. And like most of the changes and enhancements that we make to Practice Perfect, it was a direct result of the feedback that we received from our clients. But as we all know, you simply cannot please everyone.
When we introduced this red line, it came as a shock to many users. Contrary to the clinics that requested it, a large number found it distracting, and wanted to banish it from their ‘Scheduler’, never to be seen again. So in Version 490, we added an option that allows you to remove the red line from the ‘Scheduler’ altogether.
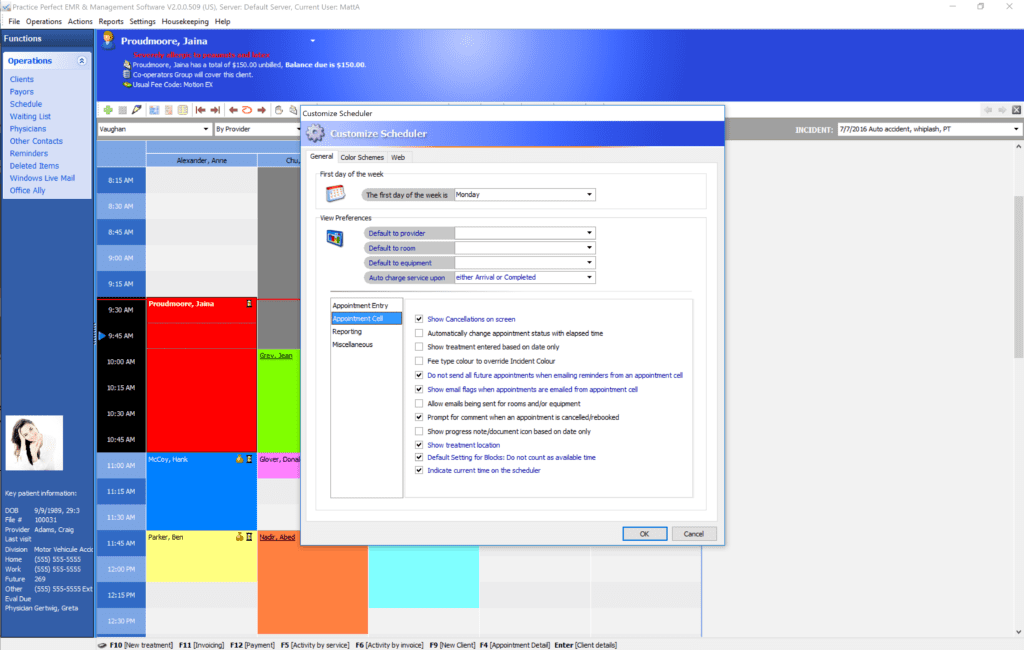
To remove the red line from your ‘Scheduler’, select ‘Settings’ and then ‘Customize Schedule’ from the menu bar at the top of the screen. In the table towards the bottom of the panel, choose ‘Appointment Cell’. The very last option in that list of settings reads ‘Indicate current time on the scheduler’. By un-ticking that box, you’ll remove the red line from the ‘Scheduler’.
![]()
Our clients include Physical Therapists, Speech Language Pathologists, Occupational Therapists, Chiropractors, Psychologists, Naturopaths and pretty-well anyone else in the physical rehabilitation and wellness world.
Our innovative PracticePerfect Management & EMR software is designed to streamline clinic processes and provide key operational information giving staff more time to spend on business-building and revenue-generating opportunities.